So all the blogs said it would be awful, all the boards for trades people said “hire a professional,” but just a few people said it was possible and they had done it. So I took a chance, knowing that my “fix-it” skills were pretty decent, and while I procrastinated for at least two weeks trying to learn more, eventually it was just time to do it!
Replacing a bathroom exhaust fan is easy when you have attic access, but when you can’t get above the darn thing it presents certain challenges. The first one is the lack of knowledge as to how the existing unit is installed and what is available for installing a new unit. The fact that my building is a commercial building with condos above retail makes it a bit more complicated as it is all steel and concrete construction and all the do-it-yourself information assumes wood stick construction. Secondly without seeing what’s up there it’s hard to know where to cut the hole in the ceiling – and installing from below absolutely requires cutting a hole in the ceiling.
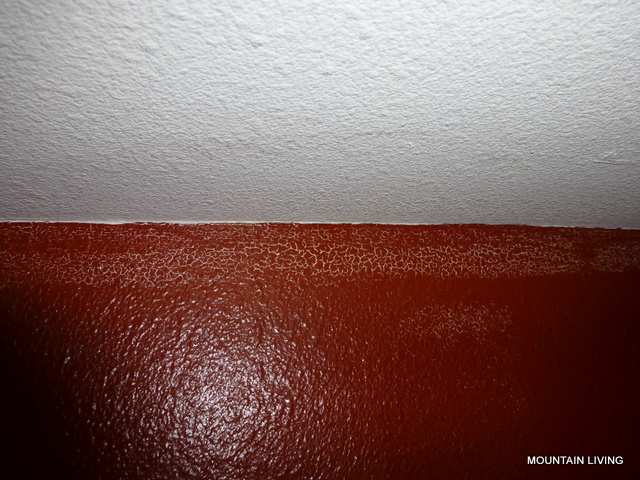
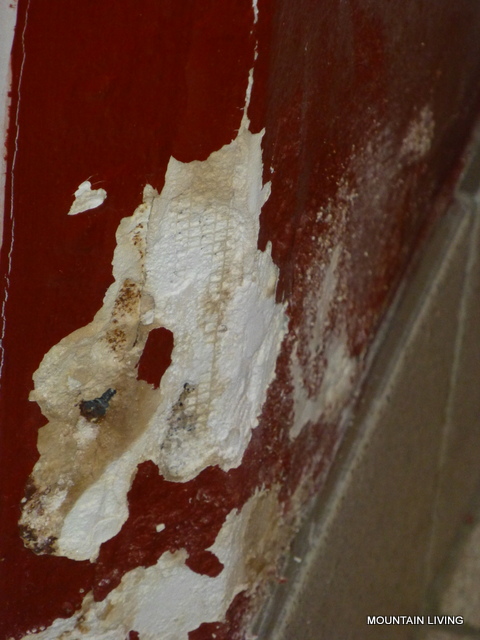
But the darned fan smelled like burning electrical and wasn’t drawing air which was causing problems with condensation on the walls of the bathroom. I had already put so much time and effort into cleaning up the mess caused by the condensation that I just had to replace the darn thing. Time to stretch my fix-it skills.
Now solving problems runs in the family, so there is absolutely no reason to believe that I could not figure this out, but still it was uncharted territory and I had the new fan/light in hand for at least two weeks before I worked up the courage to stretch my skills. Part of it was just plain hesitation, part was waiting to have the money to pay the professional if it turned out to be more than I could manage. My ceiling is drywall attached to a metal grid suspended from a concrete roof structure, so I wasn’t sure exactly what I would need or if I would be to acquire the materials up here to support the unit. And honestly, despite having patched numerous drywall holes in the past, I was a bitsy bit apprehensive at cutting a hole in my landlord’s ceiling. So away I went, knowing at some point I would have to cut that hole in the ceiling, but not sure exactly where to start. So I dismantled the unit from the inside leaving just the housing in the ceiling. That was the last easy part until it came time to patch the drywall.
I wasted quite a bit of time trying to figure out how the housing was supported and trying to extract it without blindly cutting into the ceiling. Finally I got the crowbar and tin snips out and destroyed the housing from the inside out to create a hole that allowed me to peer into the ceiling. The problem that caused the old fan to fail was painful to see. The duct had not been connected to the housing properly and had been bent to a 90 degree angle where the duct attached to the unit, so it probably blew off immediately. The only thing that saved us from moisture in the ceiling was the way the bend in the duct fell across the opening and blocked the airflow from the fan. Unfortunately, that meant that there was no place for the airflow to go, and it eventually caused the fan motor to fail. The decision to replace was a good one!
One good look was all it took to get the creative juices flowing…..It became immediately obvious that I would not be able to use the existing supports for the new unit. I had to reposition the unit to use the existing electrical wires and the new unit was larger by 1 1/4″ both in length and width and used a different method of support than the original unit…..I measured everything then took a trip to home depot to find what I could to engineer a solution for mounting the new unit. I soon found what I needed and it was time to go to work.
I cut the (much dreaded) hole for the new unit which overlapped the existing hole. I figured I would be able to use the bits of the existing hole not used for the new unit to reach up into the ceiling to make my attachments so as to minimize the size of the patch in the ceiling. After many hours and much bad language and all kinds of scrapes and finger pokes and dropped screws I finally had it mounted. It took three days — my day off, much of which was spent at home depot and figuring things out, and two days before going to work.
In retrospect, I should have just cut a big ole hole, large enough to bridge from one furring strip to the other so I could just screw my patch to them and have plenty of room to work on the exhaust fan. If I had done this the entire process would have been very easy! I made it a lot harder than it ever needed to be. Regardless, I got the whole thing in, patched the ceiling, applied the orange peel texture to more or less match the rest of the ceiling and primed and painted!
Now when I walk in and flip the switch I have to pause a moment to make sure the fan is on. I look up to see the new, quiet, efficient fan and feel the air pulled in under the door and I feel an immense sense of accomplishment. Despite being scary, I stretched. And it feels good!
Not as good as maple syrup, but pretty darn good!
Reminds me to stretch every day!